
RFID 125 kHz reader, or DIY when you least expect it :)
$16.79
Interested? Come on in.
I usually use either homemade readers or ones sold in local stores, but I wanted to try something a little more exotic.
It turned out to be not quite as simple as I initially thought, but I'll write about that later. For now, as always, here's the standard part found in many reviews—can't do without it :)
The reader comes in a small cardboard box with no printing at all. It only says that this is an RFID reader and that it works with the ID standard.
A pretty professional-looking device, then: no glamour on the packaging, though it isn't really needed there anyway.

The reader itself and everything needed to use it are inside, nestled in foam.

Well, at first I thought it included everything needed, but as you can see in the photo, they forgot to include the manual. The store representative sent it to me by email without any trouble, though. Just in case, I've also included it in the download archive at the end of the review.

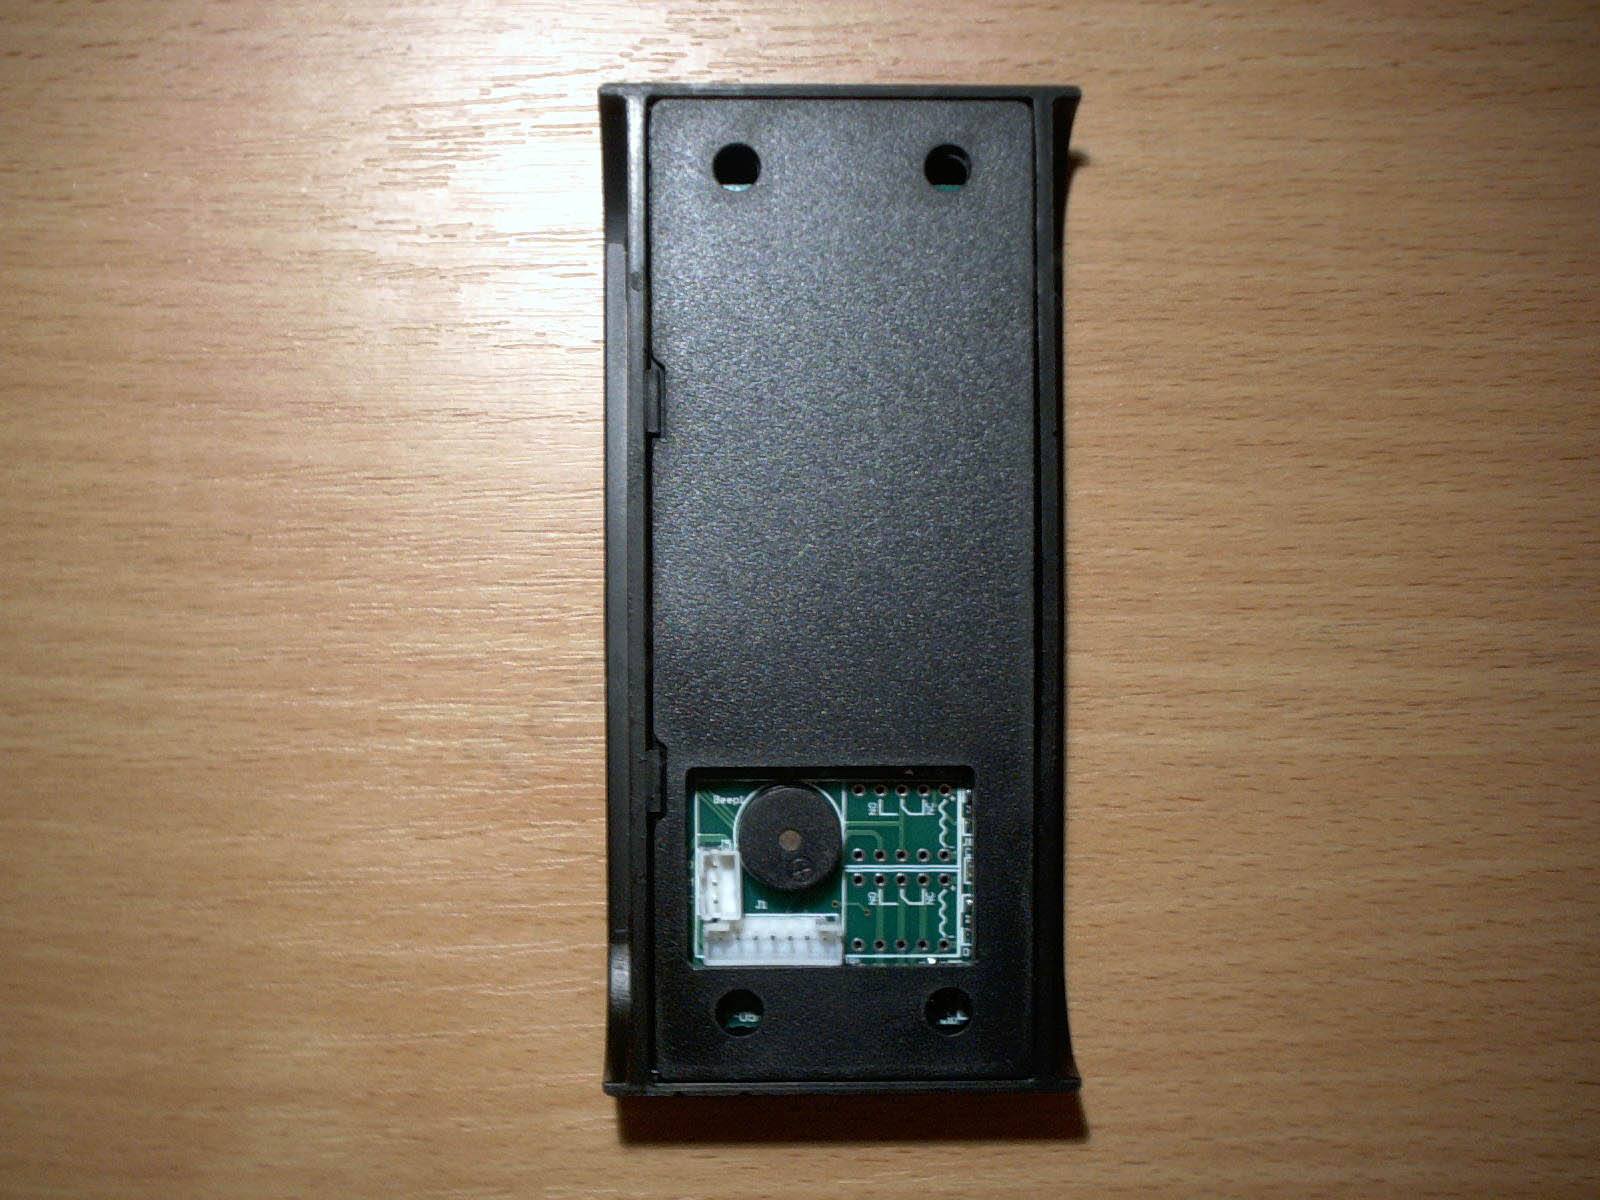
Nothing special on the back: mounting holes in the cover. One side of the cover slots into place (left), while the other side has clips (right).
The connectors and a buzzer are also on the back (it's pretty loud, so I had to cover it with electrical tape).
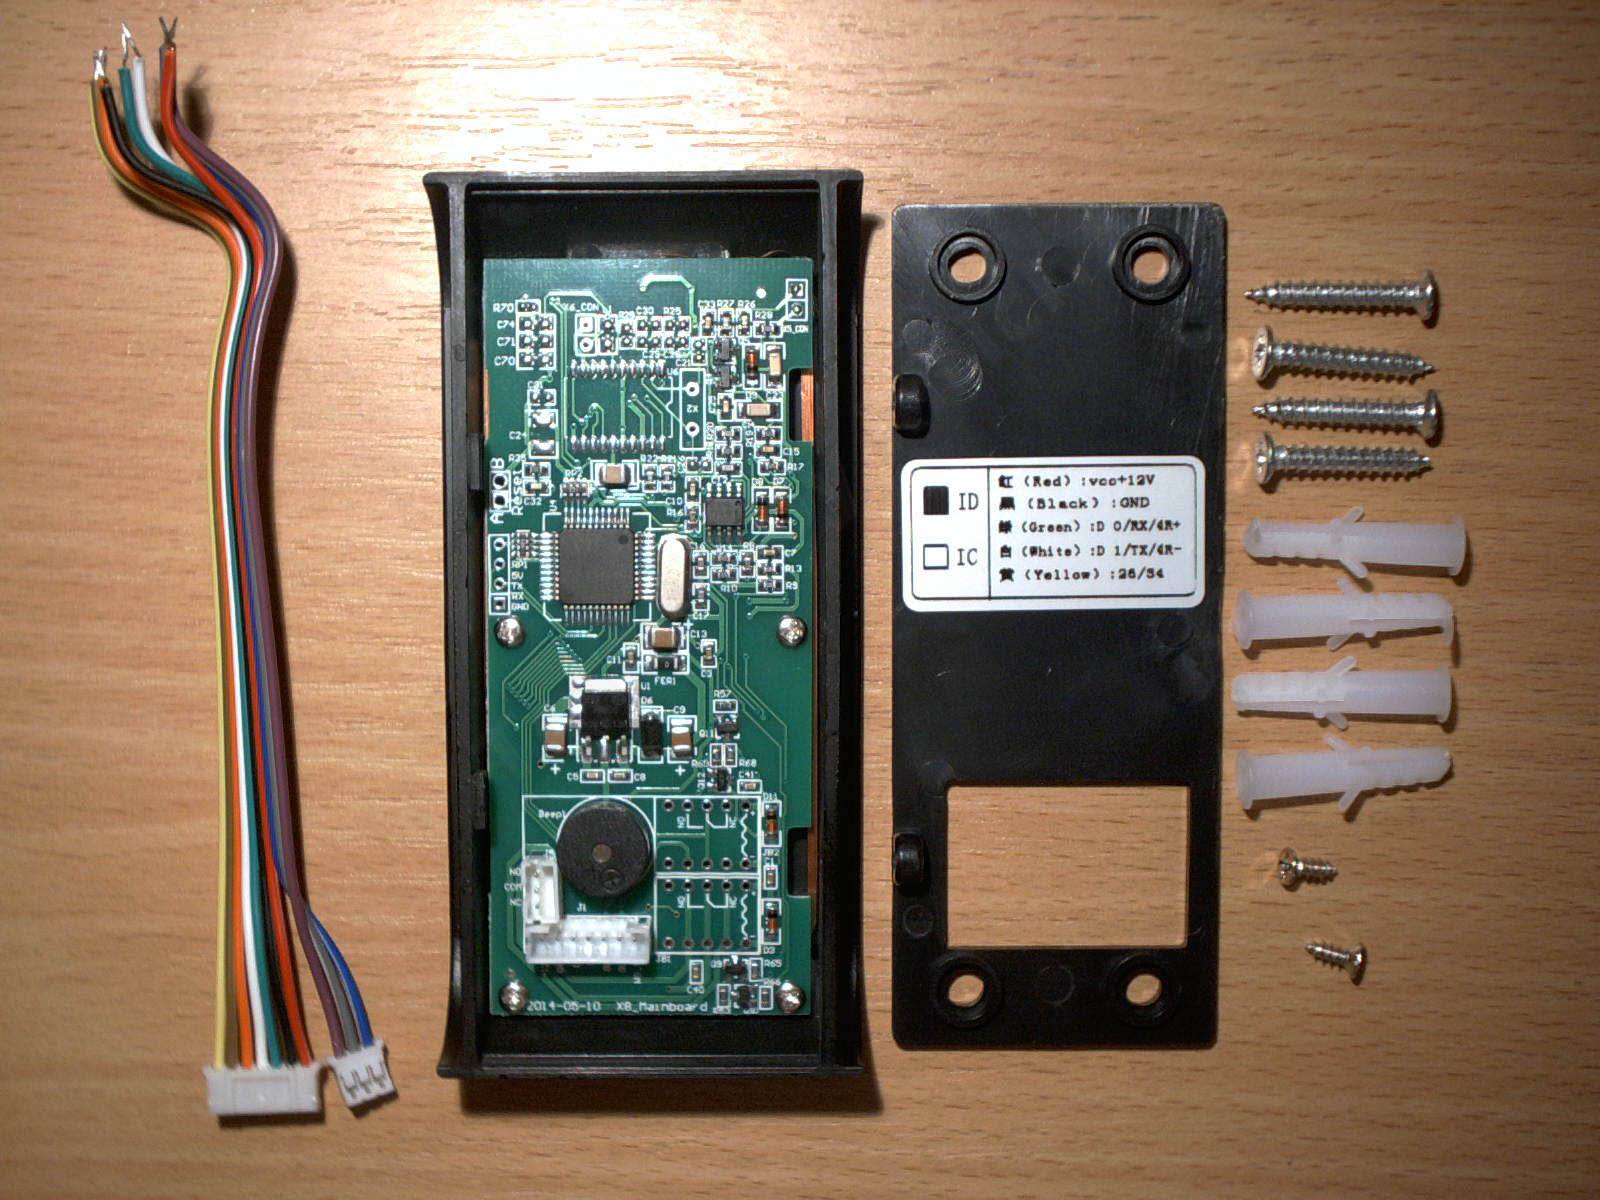
Inside, there's a sticker showing the pinout of the main connections.
Here's what it says:
Red — 12 V power
Black — Ground
Green — Data 0
White — Data 1
Orange — Labeled BL1 on the board
Brown — Labeled BL2 on the board
Yellow — Selects the operating mode, Wiegand 26 or 34 (code length); 26 is used by default.
I'm not sure what the BL1 and BL2 signals do yet. Touching these wires with a finger makes the reader turn on its green LED and beep twice with a long tone and three times with a short one. I'll look into what they're for.
The package also includes four plastic wall plugs and four screws for them (I usually use my own; I don't like the ones supplied), plus two small screws for securing the front panel to the base.
A 140 mm cable with connectors.
The cable also has a connector and three wires labeled NC, COM, and NO, but they're not used with this reader.
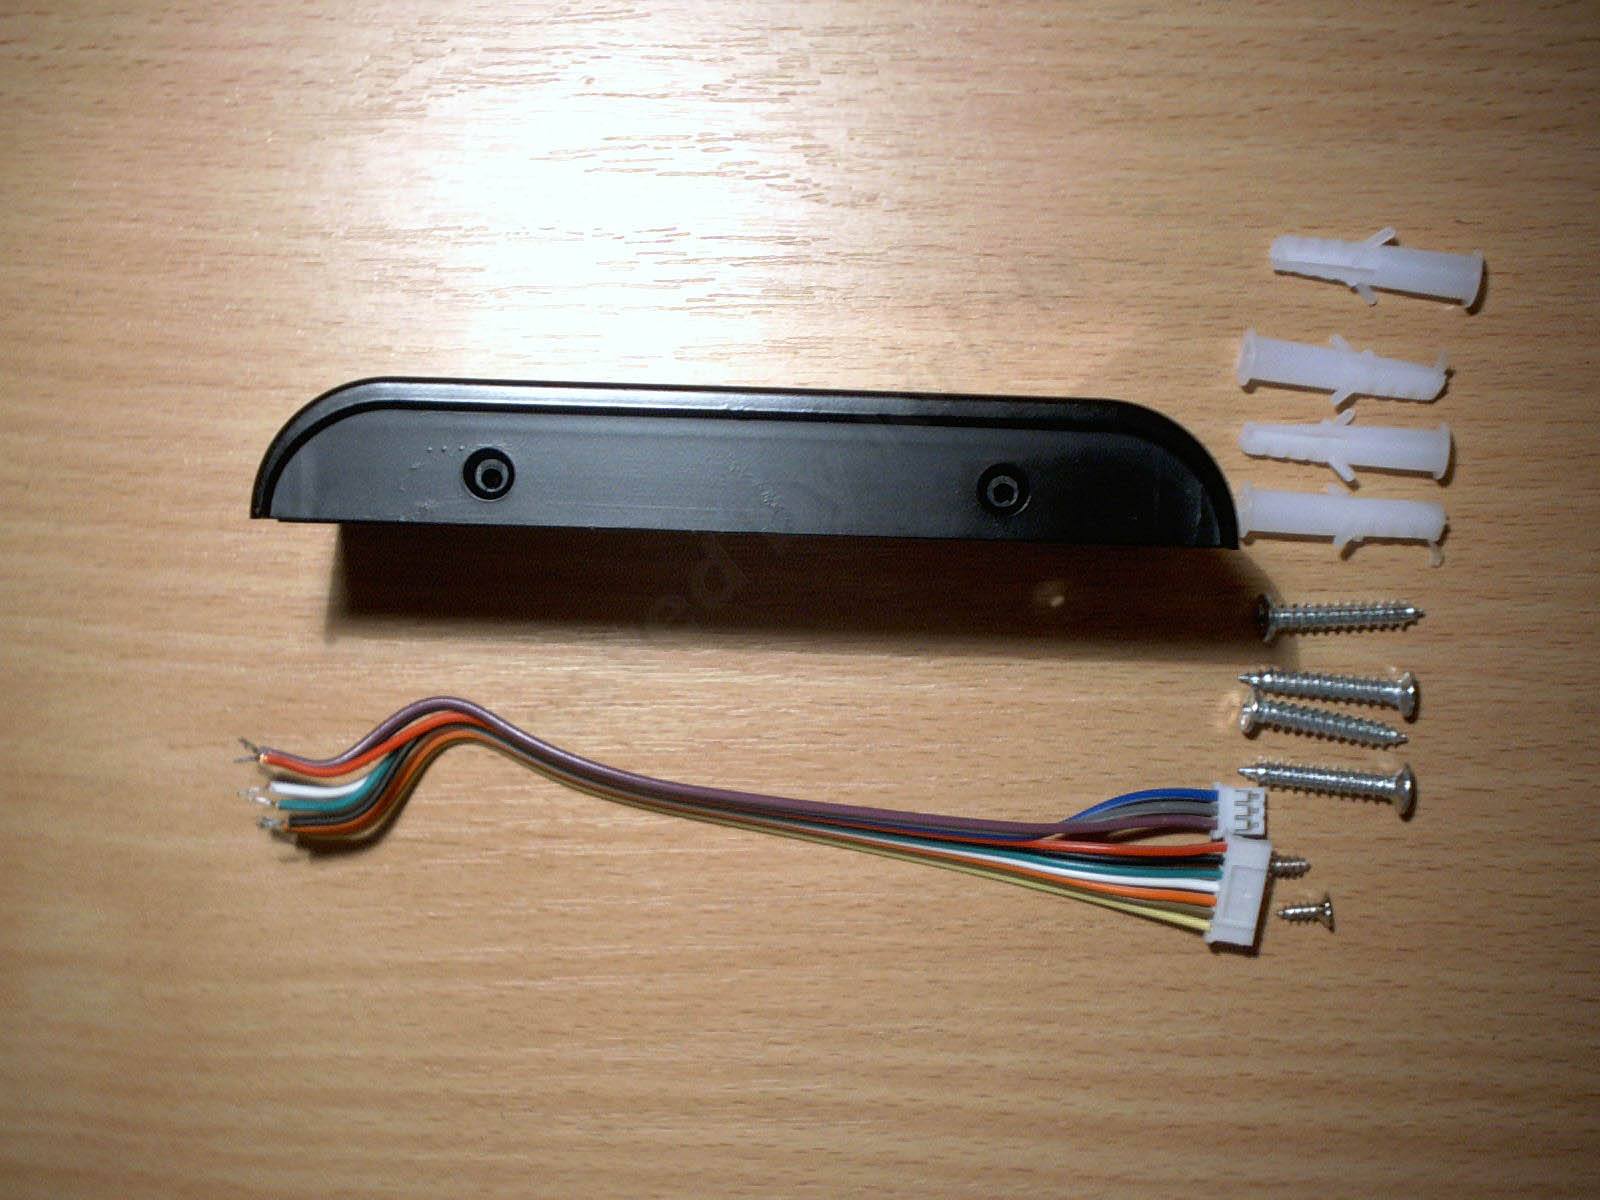
There are holes for two screws on the left side.
By the way, I don't really like that there are no decorative caps on the sides; it would look neater with them.
There's nothing on the right, just the side panel.

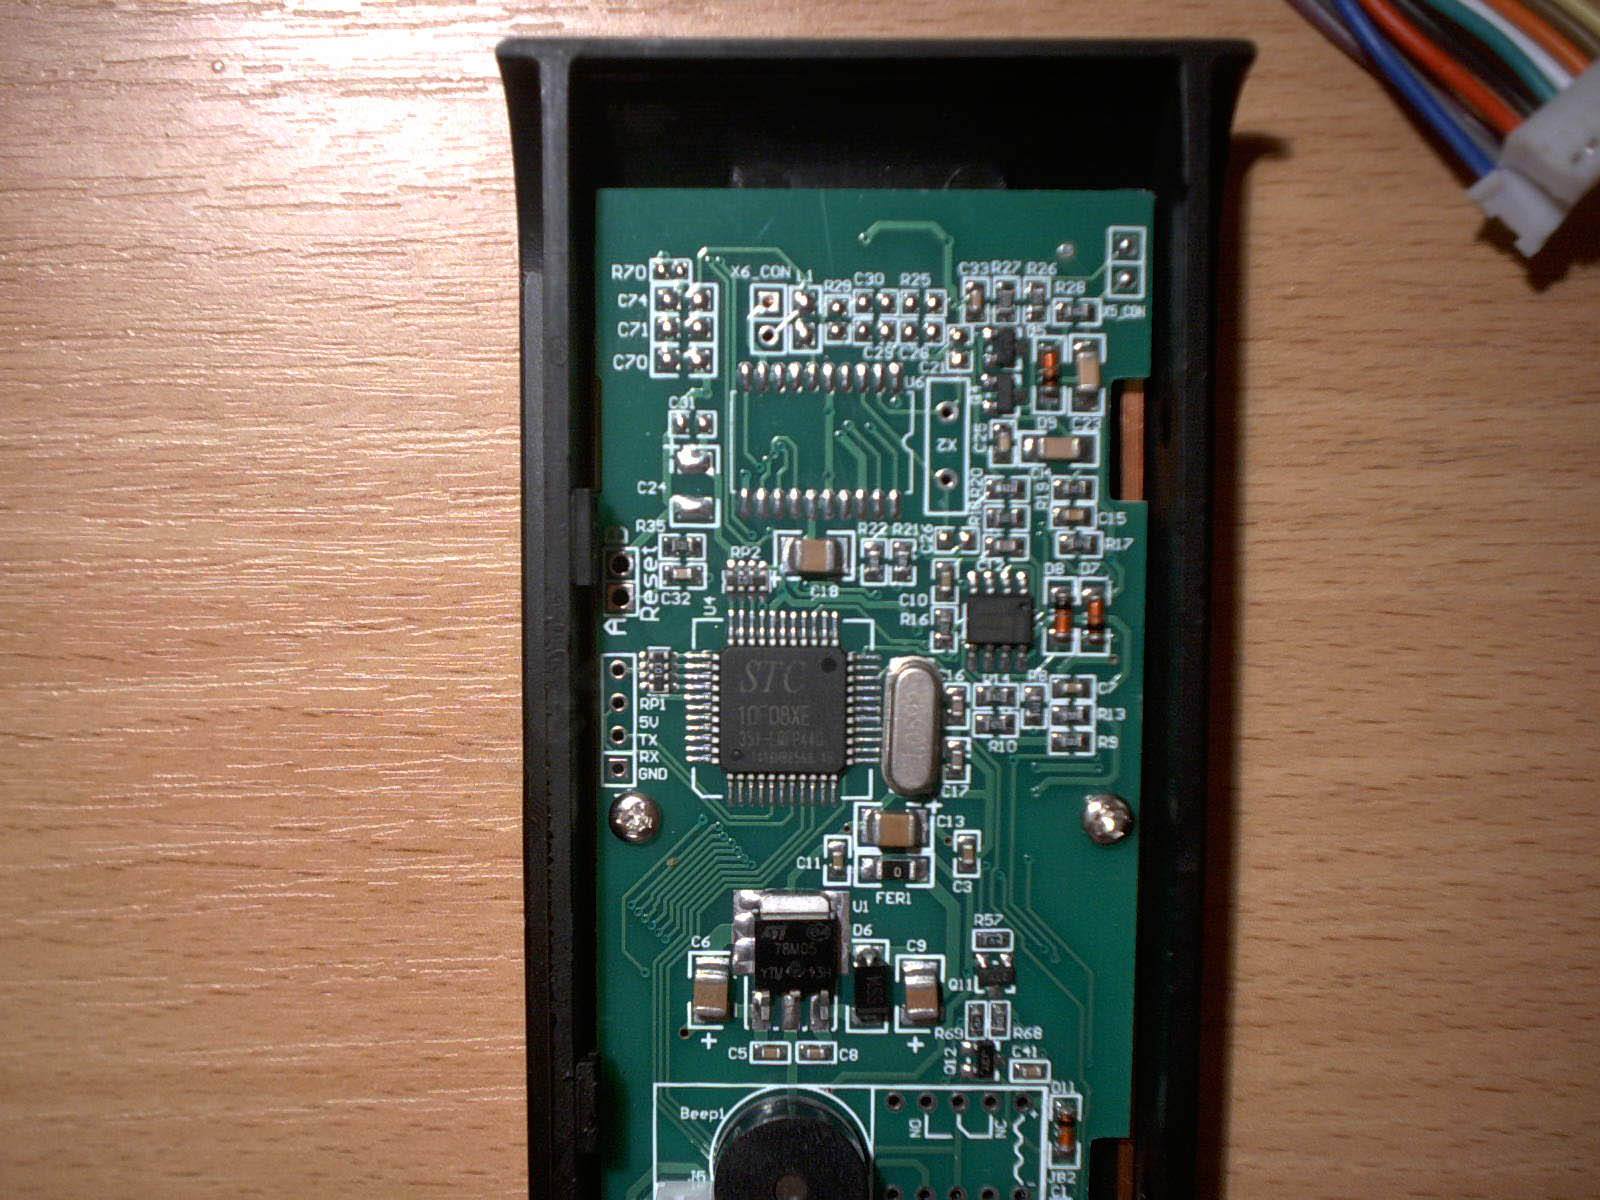
Inside are the main components of this reader.
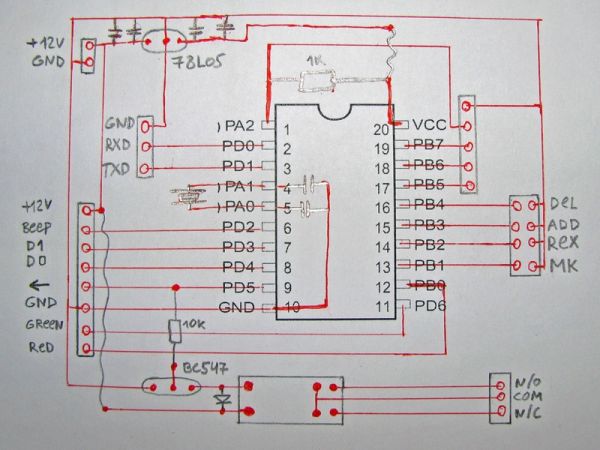
Connectors, space for two relays (one is obvious, but the purpose of the second is a mystery), a power regulator 78M05, an op-amp LM358 (used in the antenna circuit), and the processor 10F08XE.
There is also space for another IC, more on that later.
The build quality and the components used are a solid 5 out of 5. It feels like you're poking around inside an expensive piece of industrial equipment (I have some experience with that). There aren't even any electrolytic capacitors; they use high-capacitance ceramics instead.
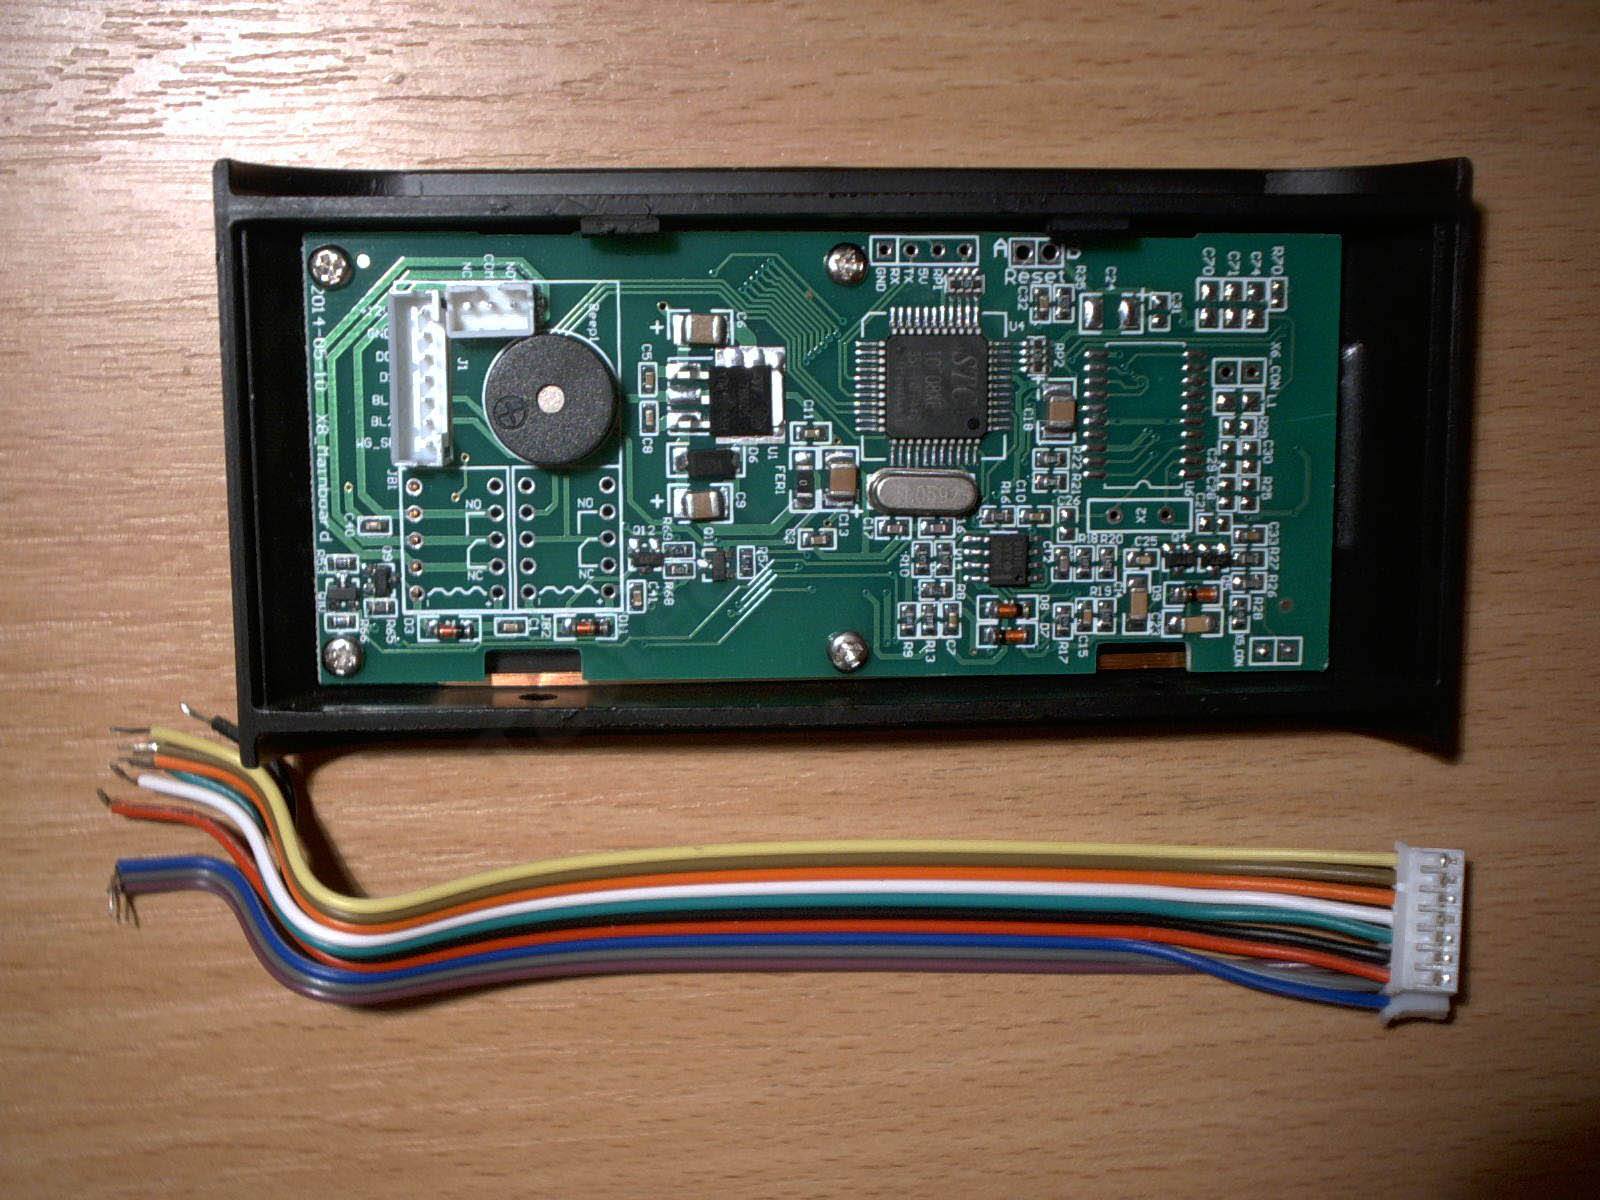
The board from a slightly different angle.
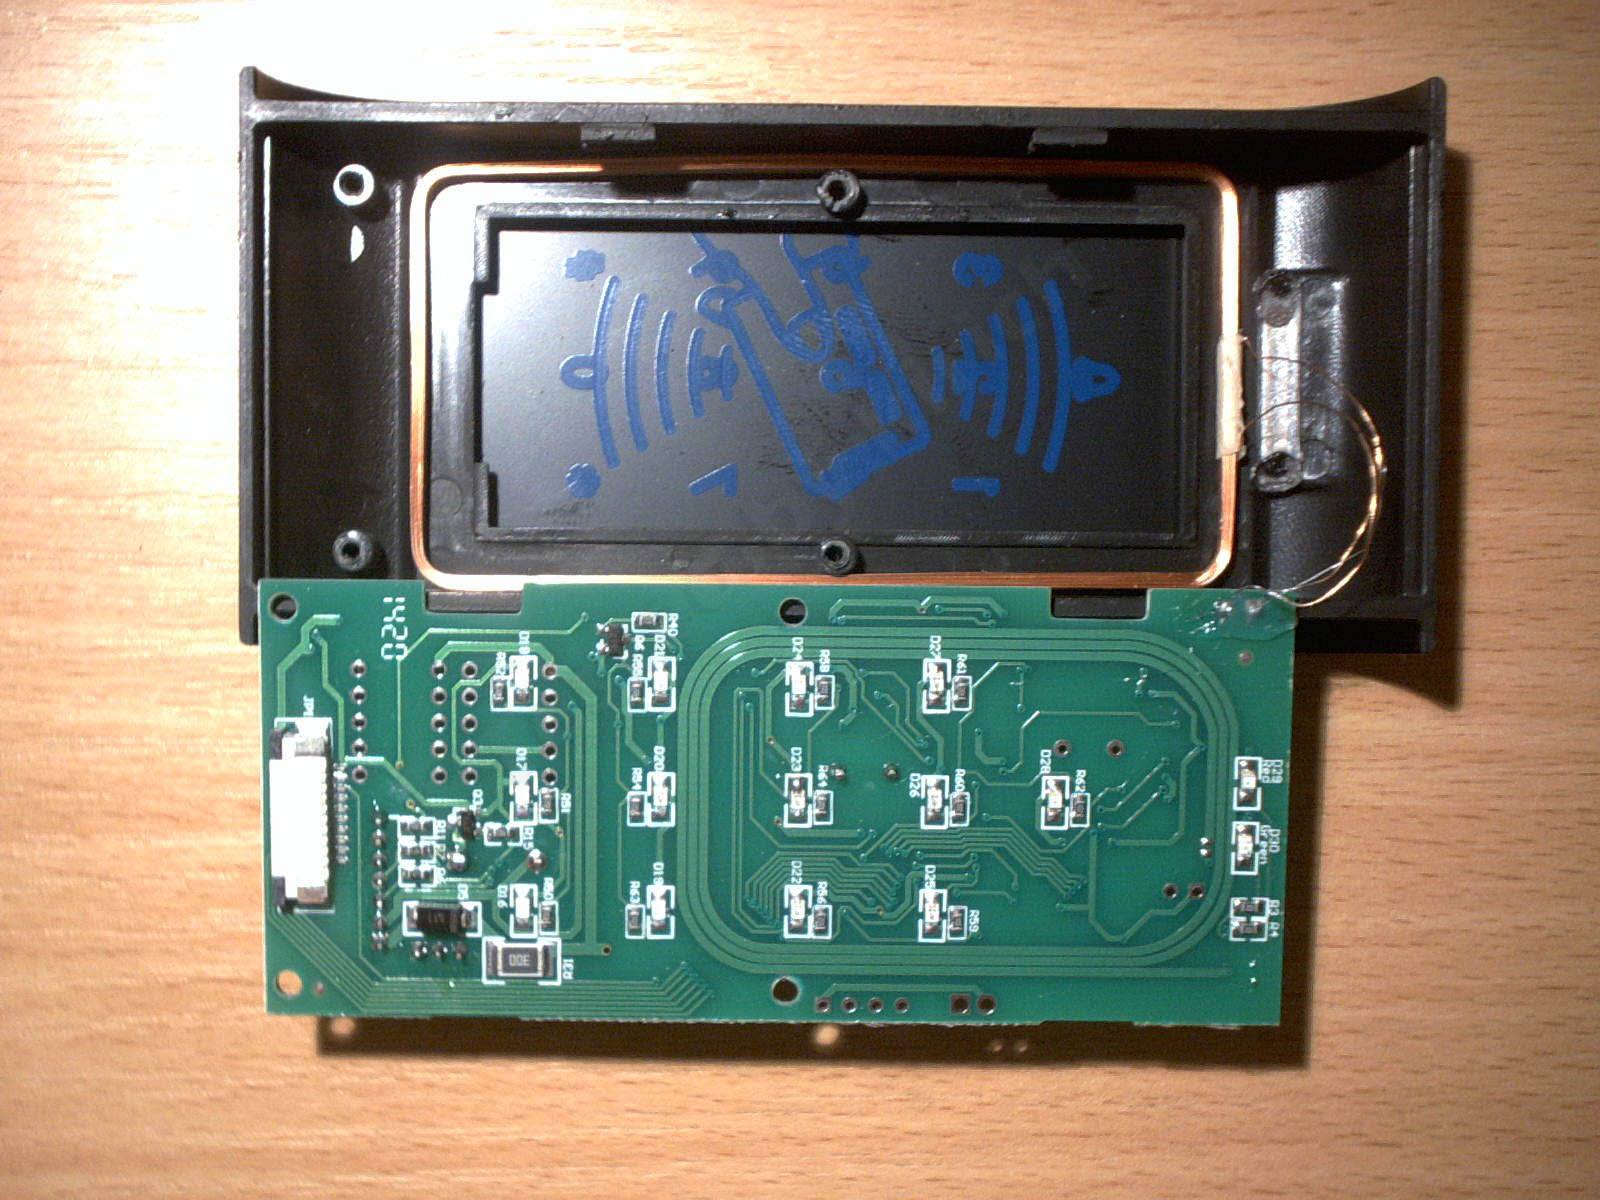
Once you unscrew the board, you can see the front panel. It seems to be a universal design, just like the board itself. You can make out icons for a bell, a numeric keypad, and RFID.
There is a connector on the board. Given the keypad icons, I think it's for connecting the keypad.
You can also see a printed antenna on the board. I mentioned the empty space for another IC above. According to the manual, there is a version of this reader that operates at 13 MHz; the antenna and missing IC are for that version.
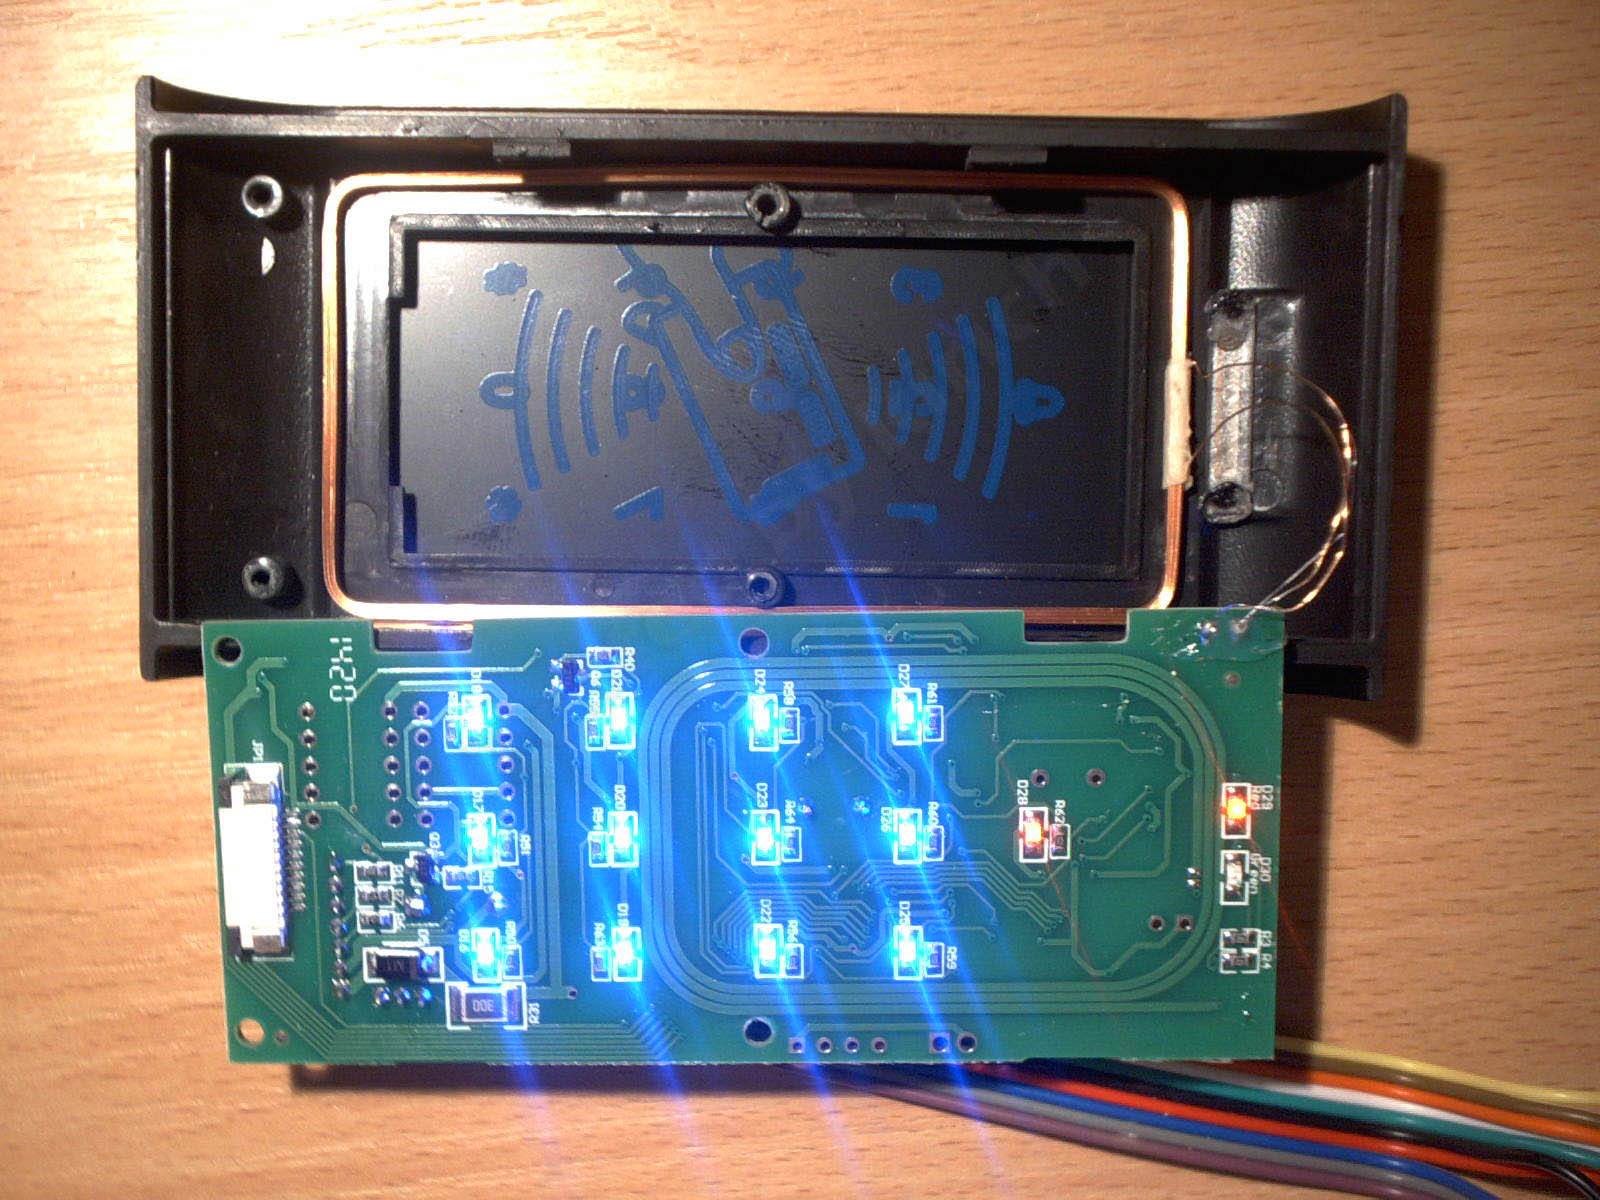
The board also has 15 LEDs: 12 blue ones to illuminate the front panel, one red one for the bell icon, and two—green and red—to indicate when the reader is triggered.
The LEDs surprised me a little. I couldn't shake the feeling that this board is used in several very different versions of the reader, and the manufacturer didn't even bother to cut costs, since the board has components that this particular reader doesn't need at all.
The LEDs look very bright in the photo, but with the front panel fitted, they look quite subtle.
I still can't figure out why the icons visible on the inside aren't visible on the outside.

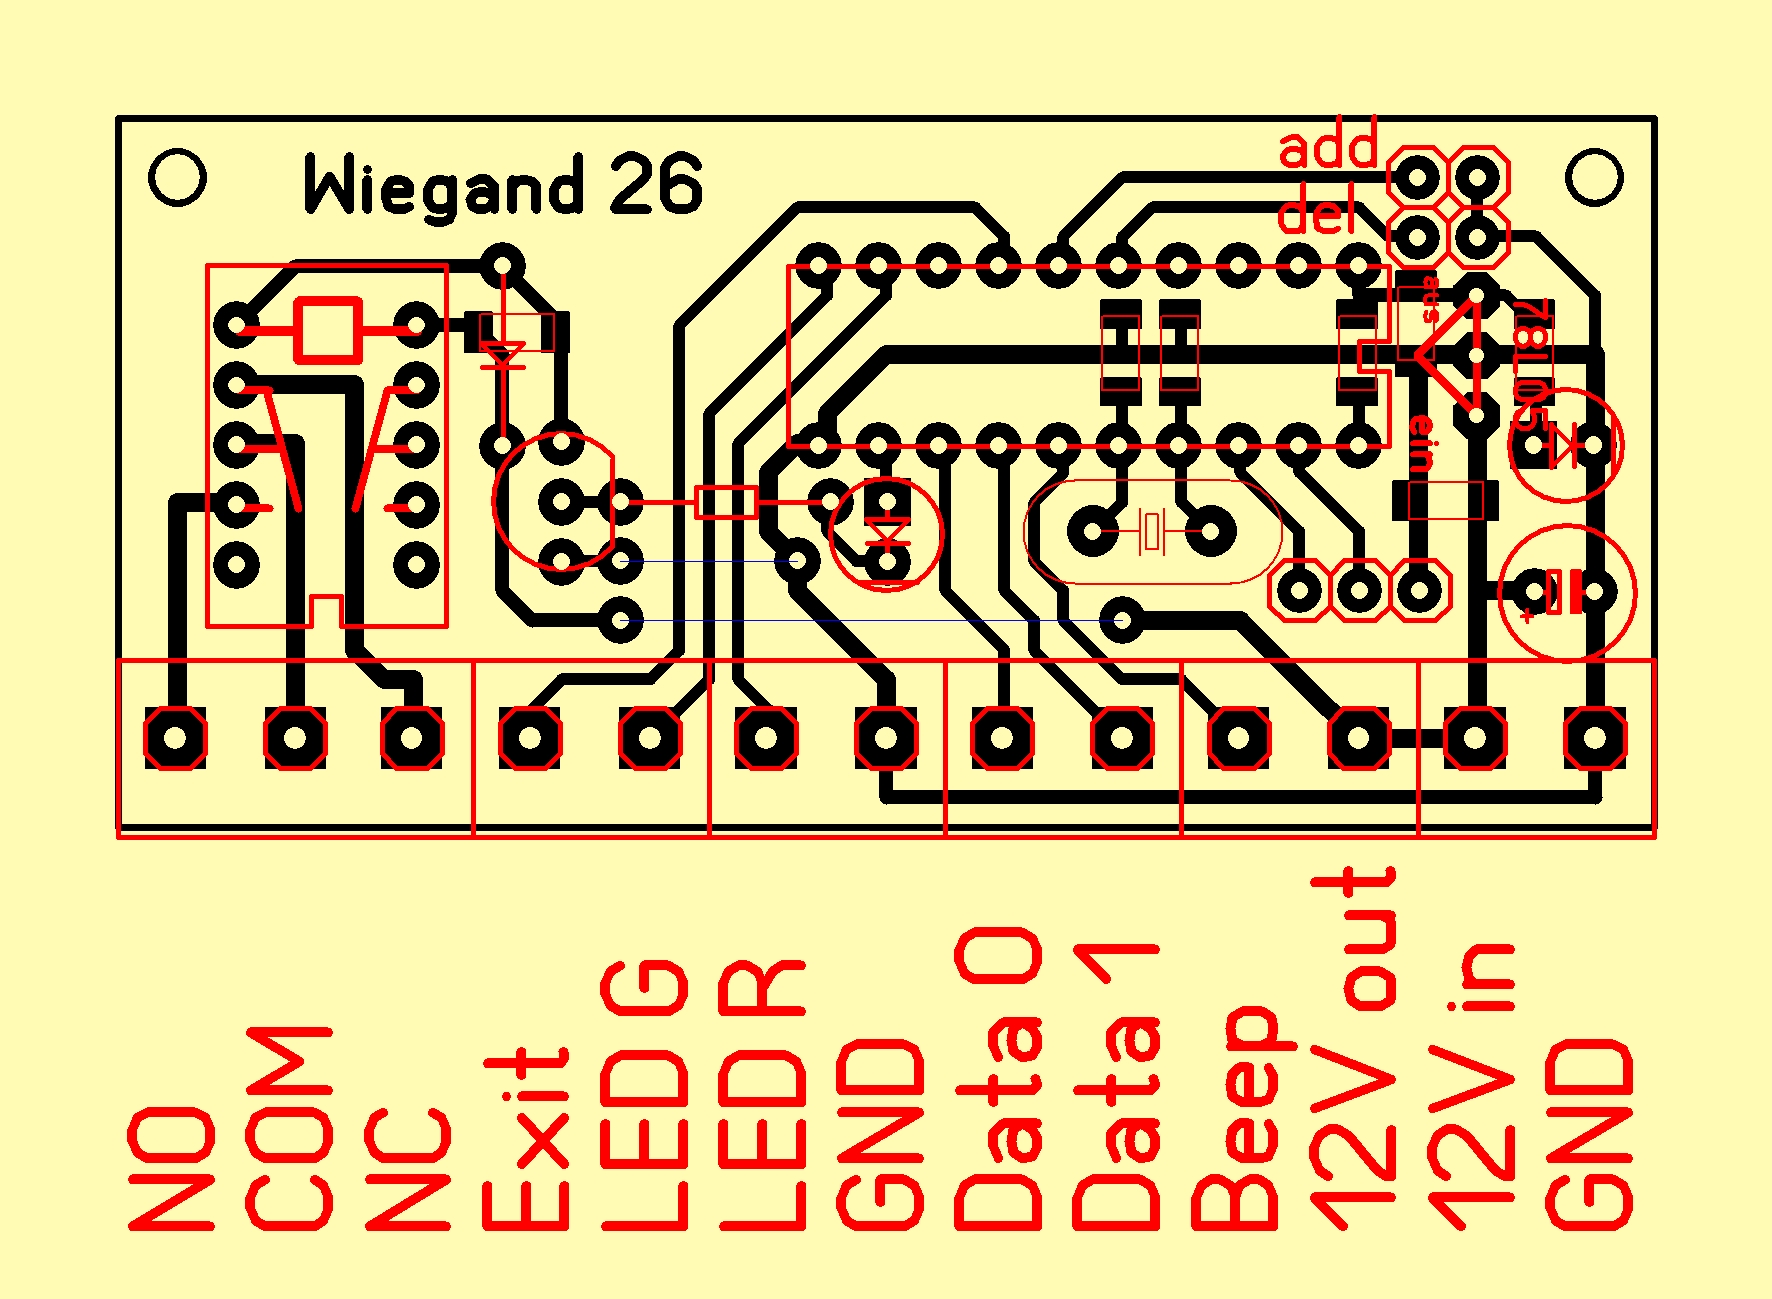


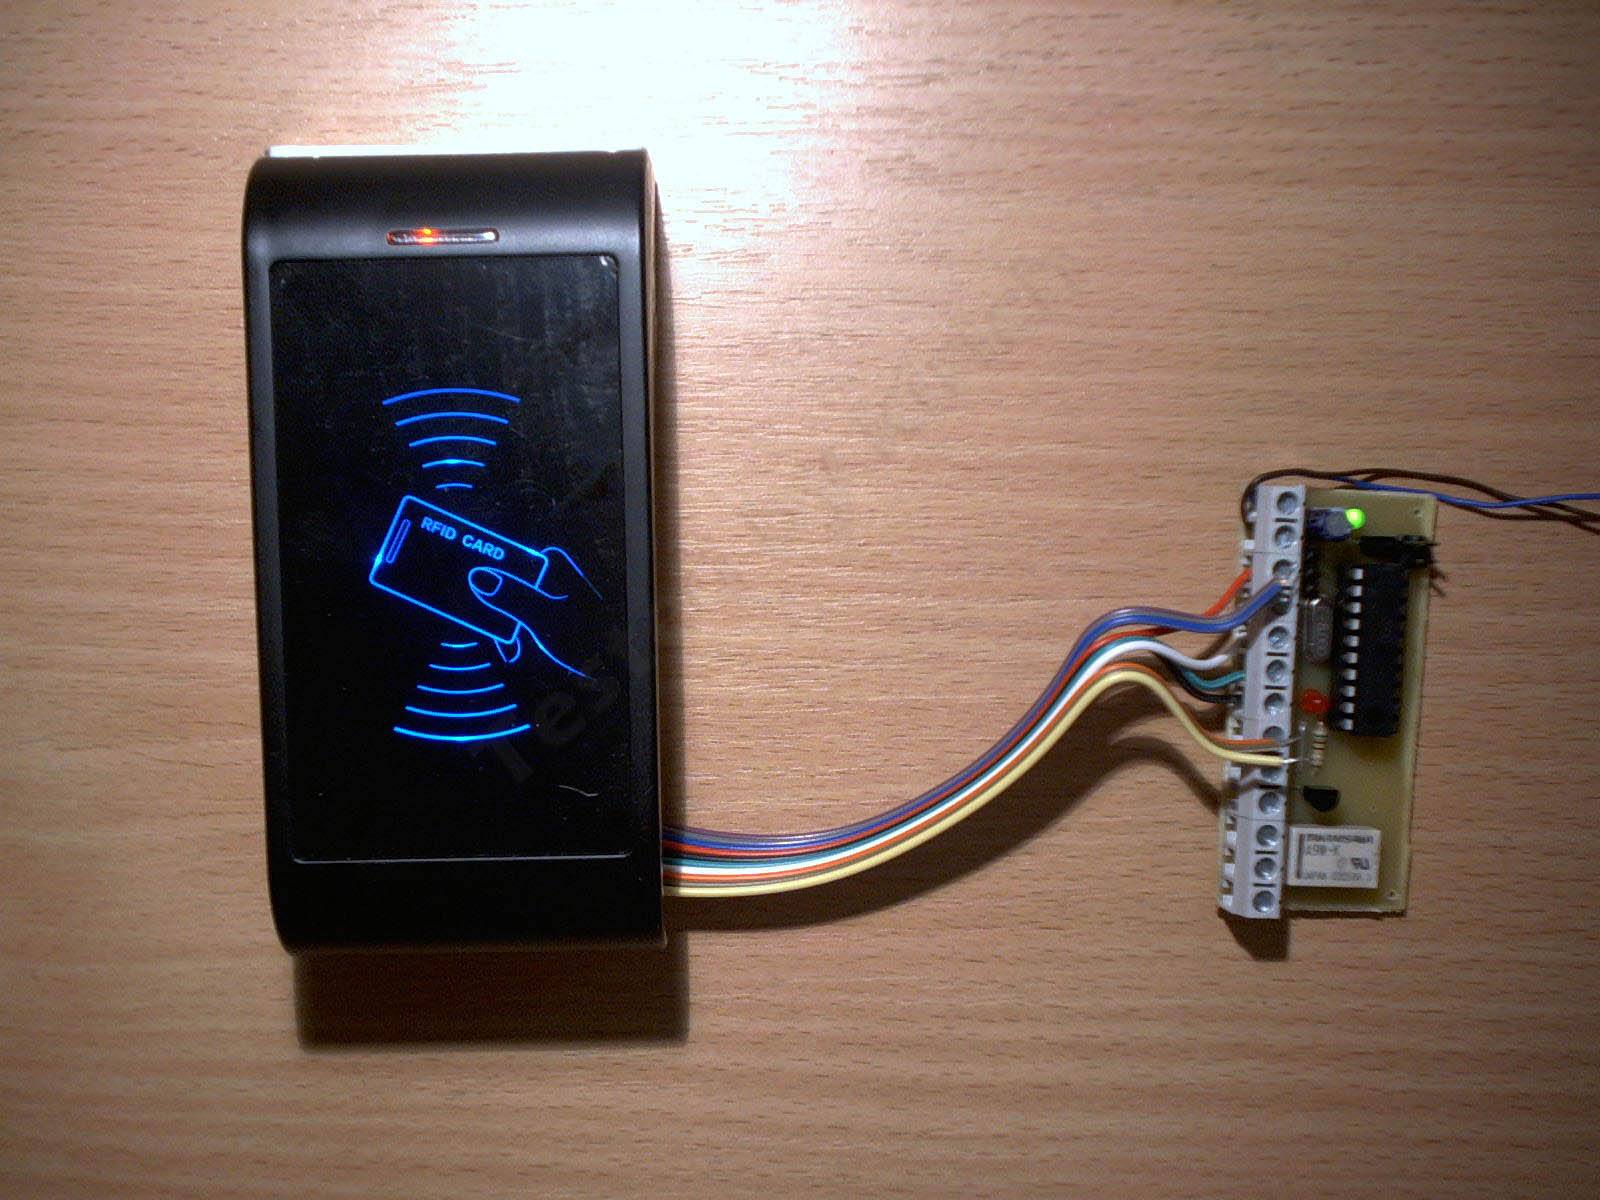

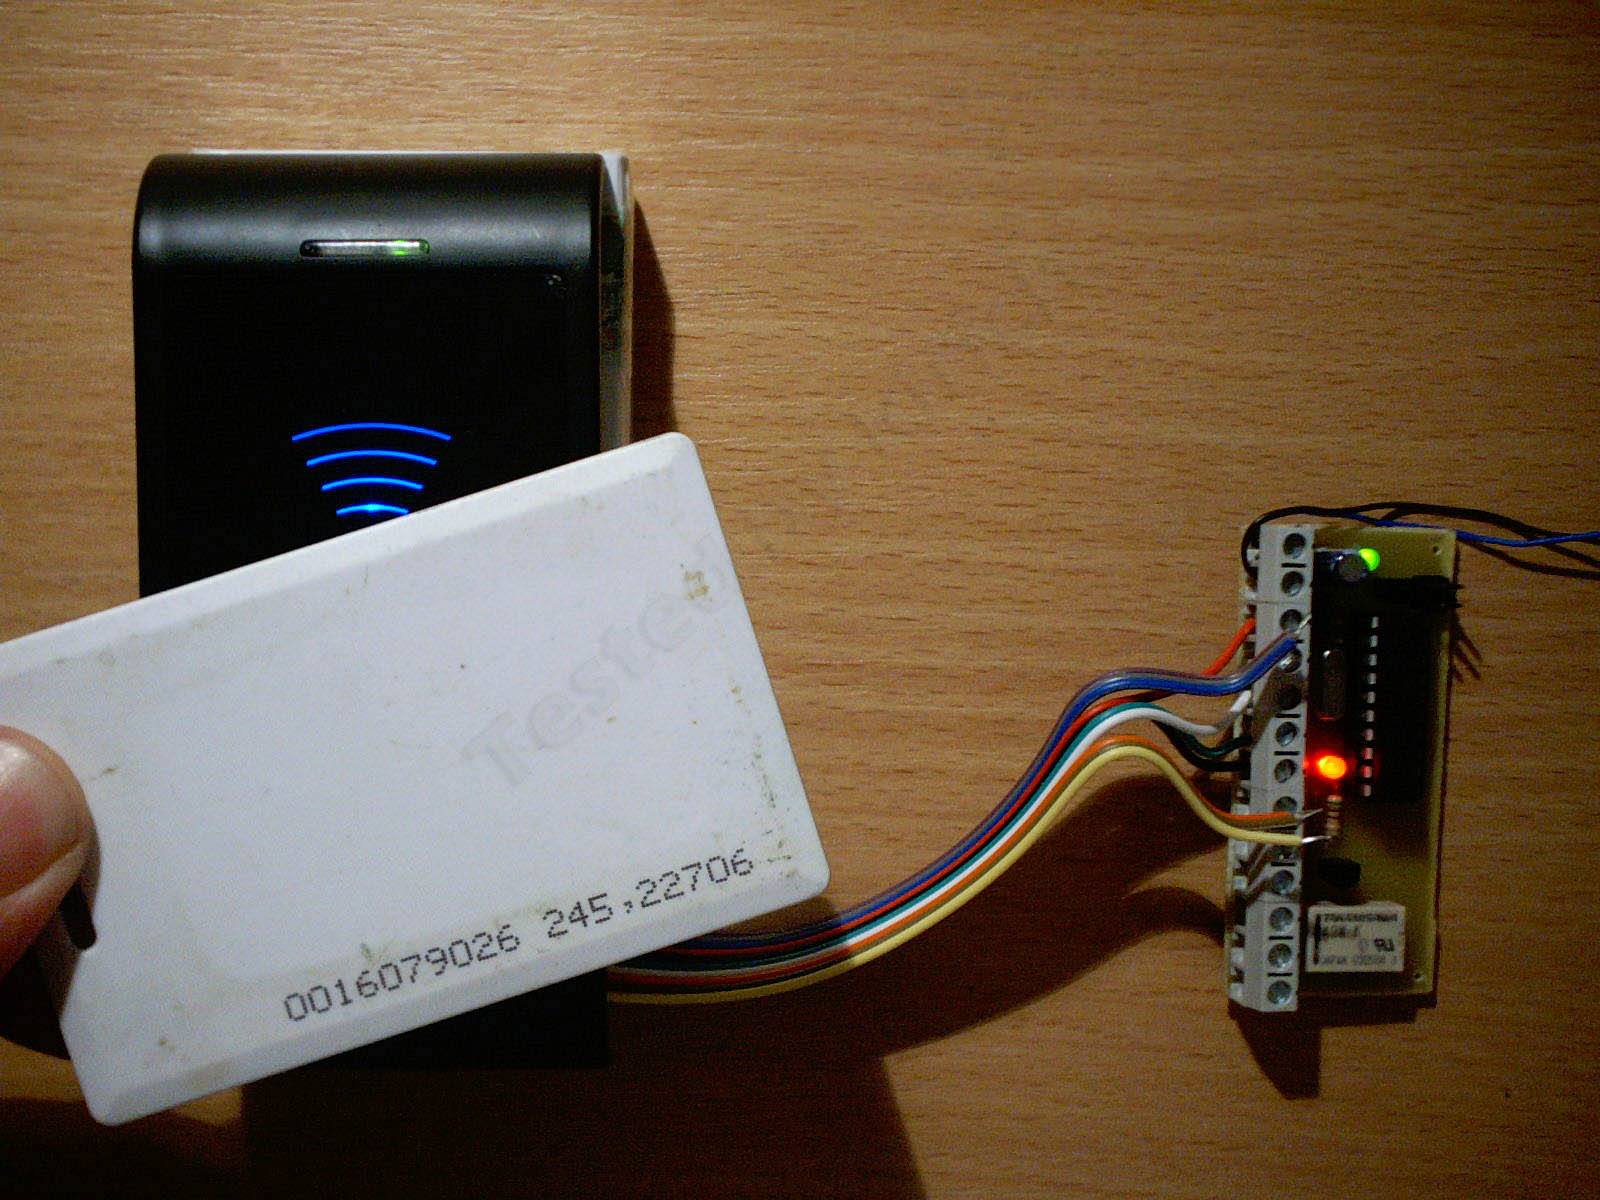
A photo with a pack of cigarettes to give you an idea of the device's size.

Summary.
Pros.
The device works.
Excellent build quality, but only for indoor installation.
Quite a nice design.
Reading range of about 8–10 cm (key fob/card), with a fast response to the card.
Given the pricing of these devices, I think the reader is reasonably priced.
Cons.
It would be nice if the manufacturer came up with some decorative side caps; that would make it look much neater.
The interface isn't very common (if you're using it with a standalone controller).
No proper instructions, just a brief description (though I'll try to fix that myself).
My opinion.
Although I expected something a little different from what I got, I'm still happy with the device.
I also got some hands-on experience with the Wiegand interface, and it was simply nice to build something new.
All in all, it's a device for people who understand what it is and what it's for.
This review came together a bit spontaneously and didn't turn out the way I'd originally planned, but I really hope it will be useful to someone.
I'll do my best to get hold of more detailed instructions, and if I can, I'll post them here. Maybe it will turn out that this is actually a reader with a controller, and I just misunderstood something.
The reader for this test and review was provided free of charge by EachBuyer.
$16.79
This page was found when searching for:
схема накачки считывателя ключей rfid 125kh, схема считывателя 125 , схемы считывателей rfid 125, rfid 125 4100 serasidis.gr схема, rfid 125 на pic12f, rfid 125 кгц своими руками на pic16, rfid считыватель 125 кгц, программатор rfid запрещен, rfid 125khz long range, rfid антенна своими руками для брелка 125 кгц, wl-125, раздельный прием передача считывателя 125 кгц, 125 кгц rfid клавиатура управления доступом инструкция, rfid программатор 125 кгц, rfid long range wl 125l, diy 125 кгц rfid инструкции, считыватель 125 кгц микросхема, считыватель магнитных карт wl 125, карты доступа 125 кгц маленькие, rfid 125 кгц в телефон, активная rfid 125 кгц, простейший считыватель на 125 кгц, 125 кгц reader, детекторный приемник на 125 кгц, htrc110 схема 125 кгц обвязки
схема накачки считывателя ключей rfid 125kh, схема считывателя 125 , схемы считывателей rfid 125, rfid 125 4100 serasidis.gr схема, rfid 125 на pic12f, rfid 125 кгц своими руками на pic16, rfid считыватель 125 кгц, программатор rfid запрещен, rfid 125khz long range, rfid антенна своими руками для брелка 125 кгц, wl-125, раздельный прием передача считывателя 125 кгц, 125 кгц rfid клавиатура управления доступом инструкция, rfid программатор 125 кгц, rfid long range wl 125l, diy 125 кгц rfid инструкции, считыватель 125 кгц микросхема, считыватель магнитных карт wl 125, карты доступа 125 кгц маленькие, rfid 125 кгц в телефон, активная rfid 125 кгц, простейший считыватель на 125 кгц, 125 кгц reader, детекторный приемник на 125 кгц, htrc110 схема 125 кгц обвязки
The figures from this review are in the measurement database: Other devices
Discounted products
You may be interested in


Discounted products
Support the project
All the content on the site and the advice are free, but we’d be grateful for your support of the project and the channel!
Discuss on the forumHave a question or some experience to share? Discuss the article with the author and readers: the forum is a convenient place to share schematics and photos.
Go to the forumOnly registered readers can comment. It takes a minute to sign up, and you can log in with the same account you use on the forum.
Log inRegister